# Okta SSO
## Overview
Panther supports integrating with Okta as a SAML provider to enable logging in to the Panther Console via SSO.
For more information on features, terminology, and limitations of SSO integrations with the Panther Console, see [Identity & Access Integrations](https://docs.panther.com/~/changes/15ann7vKLltCCAGHtdQr/system-configuration/saml).
## How to configure SAML SSO to the Panther Console with Okta
### Obtain the Okta SSO parameters from Panther
1. Log in to the Panther Console.
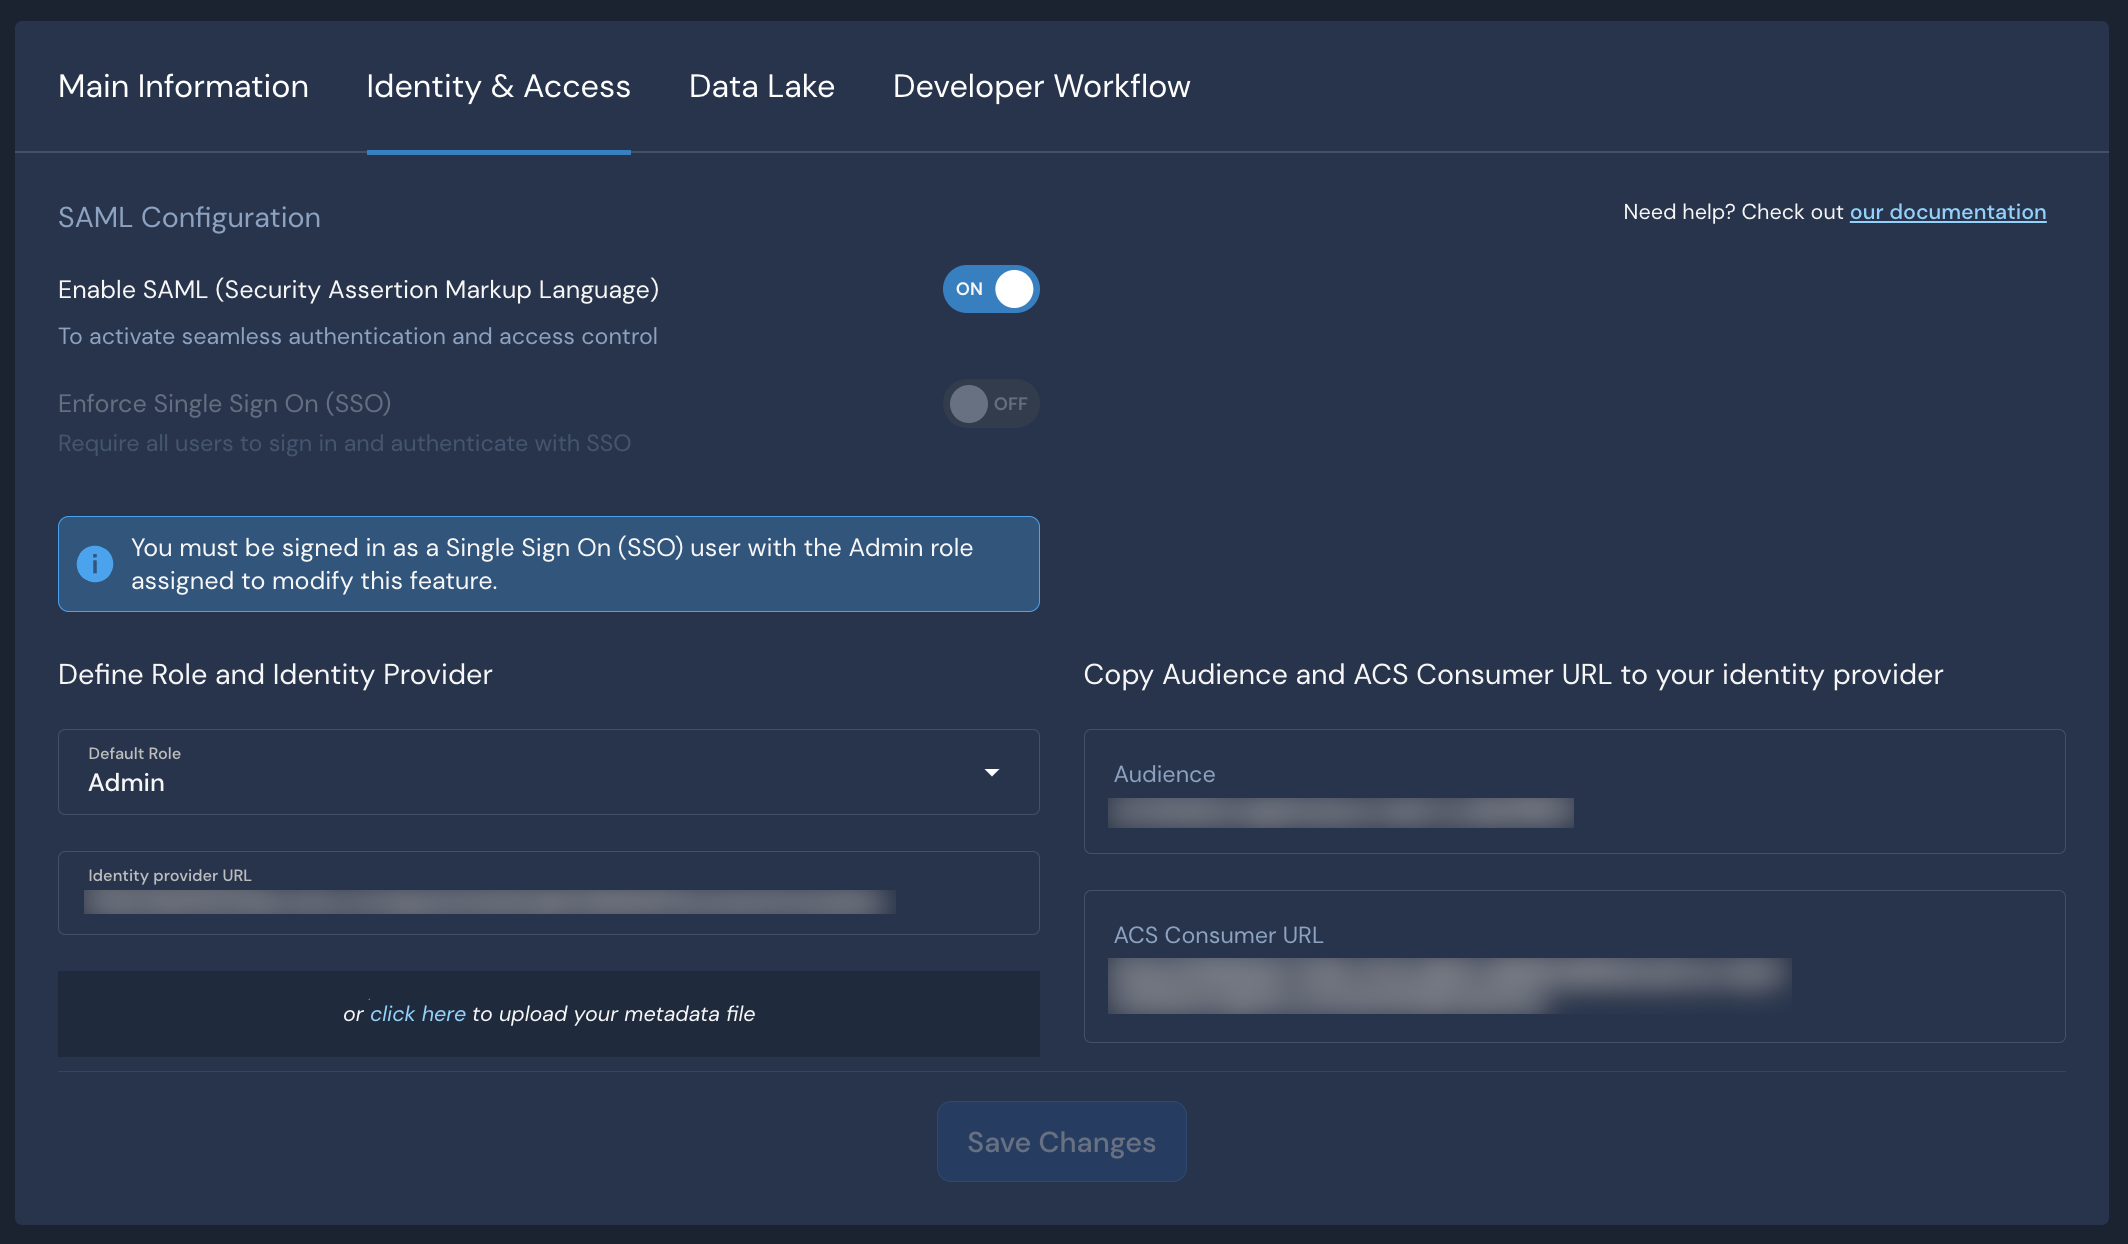
2. Click the gear icon in the upper right. In the dropdown menu, click **General**.
3. Click the **Identity & Access** tab.
Keep this browser window open, as you will need the **Audience** and **ACS URL** values in the next steps.
### Create the Okta App
1. Log in to your Okta administrative console.
2. Click the **Applications** tab, then click **Create App Integration**.

3. Within the "Create a new app integration" modal, fill in the form to configure the new app:
* **Sign on Method**: Select SAML 2.0\

4. Click **Next**.
5. Configure the general settings:
* **App name**: Add a memorable name such as "Panther Console."
* **App logo**: Upload a Panther logo to help users quickly identify this app.
* **App visibility**: Configure the visibility of this application for your users.
6. Click **Next**.
7. In the *SAML Settings* section, configure the following under **General**:
* **Single sign on URL**: Enter the **ACS URL** you copied from the Panther Console in earlier steps of this documentation.
* **Audience**: Enter the **Audience** you copied from the Panther Console in earlier steps of this documentation.

8. Configure the following under **Attribute Statements**:
* **Name**: `PantherEmail`, **Value**: `user.email`
* **Name**: `PantherFirstName`, **Value**: `user.firstName`
* **Name**: `PantherLastName`, **Value**: `user.lastName`\

9. The Group Attribute statements can be left blank. Click **Next**.
10. Click **Finish**.
11. On the next screen, navigate to **SAML Setup** along the right-hand side of the screen.

12. Click **View SAML setup instructions** which will open up a new browser tab.
13. Copy the **Identity Provider Single Sign-On URL**. Okta displays the URL in one of the following formats:
* `https://[OKTA_ACCT].okta.com/app/[OKTA_APP_STR]/[APP_ID]/sso/saml`
* `https://okta.[OKTA_ACCT].com/app/[OKTA_APP_STR]/[APP_ID]/sso/saml`
Adjust the URL as follows in order to use it with Panther. If your domain matches the first pattern above, use the first option here; if your domain matches the second pattern above, use the second one here:
* `https://[OKTA_ACCT].okta.com/app/[APP_ID]/sso/saml/metadata`
* `https://okta.[OKTA_ACCT].com/app/[APP_ID]/sso/saml/metadata`
Copy this URL as you will need it in the following steps.
14. Grant access to the appropriate users and groups in the **Assignments tab**.
### Create an Okta Bookmark app
Amazon Cognito, which powers Panther's user management, does not support IdP-initiated logins. However, you can simulate an IdP-initiated flow with an Okta Bookmark app, which will allow users to click a tile in Okta to sign in to Panther.
To configure a Bookmark app for Panther:
* Follow the instructions in the Okta Help Center: [Simulate an IdP-initiated flow with the Bookmark App](https://help.okta.com/en/prod/Content/Topics/Apps/Apps_Bookmark_App.htm).
* When you're asked to enter "the URL for your domain at the external site," use the URL of your Panther sign-in page. This is the URL that appears in your browser's URL bar when you log out of your Panther Console.
### Configure Okta SAML in Panther
1. Navigate back to the [SAML configuration](#obtain-the-g-suite-sso-parameters-from-panther) you started earlier in this documentation.
2. Next to **Enable SAML**, set the toggle to **ON**.
3. In the **Default Role** field, choose the Panther role that your new users will be assigned by default when they first log in via SSO.
4. In the **Identity Provider URL** field, paste the metadata URL from Okta that you obtained in the previous steps of this documentation.
5. Click **Save Changes**.
To test your setup, go to your Panther sign-in page and click **Login with SSO**.